Monday, May 31, 2010

Serving Tray


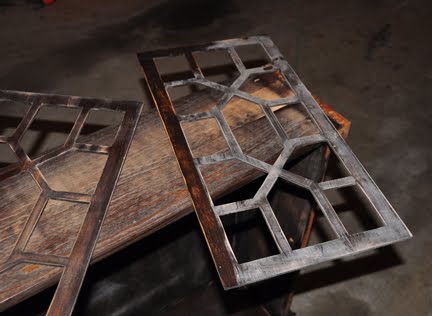
While doing my usual look and see trips to thrift stores, I found this picture frame for $9. It is quite huge.

It takes up about half the size of my coffee table, which is also a blanket chest.

I removed the picture and the glass. I went to Home Depot to get plywood, the same size thickness as the glass that I removed. I thought of re-using the glass but it was very heavy and I was afraid it might break if I dropped the tray by accident. I got the very nice man at Home Depot to cut it to the exact measurement I needed.

I lightly sanded the frame and then sprayed it with primer.  After that, I sprayed it with Rustoleum's Heirloom White paint. (I realised that I forgot to take photos of this process)

I cut some fabric arond the perimeter of the plywood. I had this fabric from a while back and was wanting to experiment with decoupaging with fabric instead of paper. I used Mod Podge Outdoor, which I had to buy from ebay because it is not that easily available from the major craft stores.  They only had the normal ones. The MP Outdoor is said to be waterproof, so I thought it might be the right one to use.

I had to do it in two halfs, first I lifted the first half off and using a paintbrush, I spread the MP on the wood. Then I pasted the fabric down, removing any air bubbles that might have formed.  Next, I worked on the other half of the fabric, repeating the same steps.

Then, I coated the top of the fabric with MP. It has a creamy texture but once it dries, it is clear. I followed the instructions to let it dry for 15 to 20 minutes before sealing it with a second coat.

I placed the plywood back into the frame.  Note that I had painted the back of the plywood the same colour as the frame.

This is what the finished product looks like.  I am not entirely pleased with the surface of the tray because it is sticky, unlike my other decoupage projects wshere I finish it with shellac.  The thing with shellac is that it goes yellow with age, so I thought Mod Podge would be the answer to shellac. It is far from satisfactory and I will need to experiment with other finishes like polyurethane.
 
Ok...I admit it, there is no coffee in the cups.


Monday, May 3, 2010

Wingback Chair

Found this chair at the local thrift store for $30. Isn't she a beauty? Can't wait to get working on this!

Secretary Revealed

I have almost completed my secretary and this is the big reveal! Not if you have been following my Facebook, my step by step photos have been posted up for all to see!

I was inspired by Eddie Ross's secretary makeover here. I really liked how he put mirrors on his secretary but I thought that since this was my first project, I wanted to keep the costs as low as possible. (Ya gotta check out his blog, he has great ideas!)

I was also inspired by Kate from Centsational Girl. I have about 50 blogs that I follow everyday but I don't always have the time to read all of them. However, I always, always make time to read Kate's blog and never skip an entry. I started following her blog when I was still living in Singapore and feeling so envious of all the lovely cheap finds from thrift stores. She has so many great tutorials on her website, and I referred to her site repeatedly during my attempt to paint this secretary.


This is the "before" shot. This is what it looks like today. Click on the photo to see the larger shot.


I had to change the hardware, although some of it was quite difficult to replace, like the lock (it is without a lock at this stage because the one I bought was about 1 to 2 mm off in measurement and the door would not shut. Grr! That lock cost me US$8! I still have yet to put back the desk lid because I banged something against it and put a dent in the paint.  It is now drying, after a bit of sanding and repainting. 

Here is  how I did it.

First, I sanded the whole secretary. Before that, I removed all the hardware, took all the pieces apart. For the harder to reach places, I did the best I could or left it.


Repairing holes and wood gluing back the rickety bits.
Next, I primed the wood with Zinsser Oil Based Primer. At first I thought of using water based primer but heard the results of oil based primer was far superior. However, after I had started with it, I regretted it because it was difficult to clean the primer. Ya just can't wash it off with water - duh! I had to buy paint thinner and eventually brush cleaner but neither of them worked. I had to throw out my very good brushes and rollers after a few coats. Ouch!


Then the fun part began - painting! I used Rustoleum's Heirloom White, which is an off white colour.

 
As for the inside of the shelf, I painted it a Tiffany blue colour. For the life of me, I don't know what the colour is called, I looked at the can and could only come up with Continental Hotel Abby and I am sure that isn't it!

I changed the hardware, purchased from Lee Valley in Canada. They have the best hardware and woodworking stuff, all presented in a beautiful catalog.

Very happy with the way this turned out, not too bad for a first project in terms of difficulty. If I had to do it all over again, I would probably have covered up the keyhole, and placed a handle or pull on it as antique locks probably don't match up with today's.